Appearance
让场景有立体感
要让场景有立体感,光线、材质和阴影是关键。只有场景中有光线的明暗变化,才能出现不同的层次感。
一、光源
在现实世界中,我们之所以能看到物体,是因为光线照射到物体表面,然后反射到我们的眼睛里。物体的明暗、颜色、材质感都与光照密切相关。threejs 中提供了多种光源,比较常用的几个如下:
1. 环境光(AmbientLight)
环境光是无方向的光源,它会均匀地照亮场景中的所有物体。通常用作基础光照,避免场景过暗。
js
const ambientLight = new THREE.AmbientLight(0x404040, 0.5); // 颜色,强度
scene.add(ambientLight);
2. 平行光(DirectionalLight)
平行光模拟太阳光,具有方向但没有衰减。光线是平行的,常用于户外场景的主光源。
js
const directionalLight = new THREE.DirectionalLight(0xffffff, 1);
directionalLight.position.set(10, 10, 5);
scene.add(directionalLight);
3. 点光源(PointLight)
点光源从一个点向四周发射光线,类似灯泡。有位置和衰减。
js
const pointLight = new THREE.PointLight(0xffffff, 1, 100); // 颜色,强度,距离
pointLight.position.set(10, 10, 10);
scene.add(pointLight);
4. 聚光灯(SpotLight)
聚光灯从一个点发出锥形光束,类似手电筒或舞台聚光灯。
js
const spotLight = new THREE.SpotLight(0xffffff, 1);
spotLight.position.set(10, 10, 10);
spotLight.target.position.set(0, 0, 0);
scene.add(spotLight);
scene.add(spotLight.target);
二、材质
材质决定了物体与光的交互方式。在 threejs 中有多种材质可以选择,但有些材质受光照影响,有些不受影响,为了让场景更有立体感,应该选择那些受光照影响的材质,例如MeshStandardMaterial。
1、不受光照影响的材质
MeshBasicMaterial:基础材质,始终以原色显示MeshMatcapMaterial:使用预烘焙的光照贴图
2、受光照影响的材质
MeshLambertMaterial:兰伯特材质,计算漫反射MeshPhongMaterial:冯氏材质,计算漫反射和镜面反射MeshStandardMaterial:标准材质,基于物理的渲染(PBR)MeshPhysicalMaterial:物理材质,更高级的 PBR 材质
各种材质在性能和表现形式上做了不同的权衡,越具有真实感的材质越耗费性能,性能由高到低排序:MeshBasicMaterial ➡ MeshLambertMaterial ➡ MeshPhongMaterial ➡ MeshStandardMaterial ➡ MeshPhysicalMaterial。
三、阴影
在 threejs 中要产生阴影,需要以下步骤:
1. 开启渲染器阴影支持
jsx
renderer.shadowMap.enabled = true;
renderer.shadowMap.type = THREE.PCFSoftShadowMap; // 软阴影
2. 光源支持阴影
如 DirectionalLight 或 SpotLight
jsx
light.castShadow = true;3. 物体本身要设置为投射或接收阴影
jsx
mesh.castShadow = true; // 投射阴影
mesh.receiveShadow = true; // 接收阴影
4. 地面通常要接收阴影
jsx
const ground = new THREE.Mesh(planeGeometry, groundMaterial);
ground.receiveShadow = true;
四、实战
通过用代码创建一个实际场景,可以更直观的感受场景中的立体感。
1、搭建基础场景
参考“第一个场景”中的示例代码,搭建基础的场景,并删除了立方体。主要代码如下:
typescript
import * as THREE from "three";
import { OrbitControls } from "three/addons/controls/OrbitControls.js";

// 场景对象
const scene = new THREE.Scene();

// 渲染器
const canvas = document.querySelector("#canvas") as HTMLCanvasElement;
const renderer = new THREE.WebGLRenderer({ canvas, antialias: true });
renderer.setSize(window.innerWidth, window.innerHeight);

// 相机
const camera = new THREE.PerspectiveCamera(75, window.innerWidth / window.innerHeight, 0.1, 1000);
camera.position.z = 5;

// 轨道控制器
const controls = new OrbitControls(camera, renderer.domElement);

// 渲染循环
function animate() {
  requestAnimationFrame(animate);
  controls.update();
  renderer.render(scene, camera);
}
animate();

// 窗口大小改变时,更新渲染器和相机
window.addEventListener("resize", () => {
  renderer.setSize(window.innerWidth, window.innerHeight);
  camera.aspect = window.innerWidth / window.innerHeight;
  camera.updateProjectionMatrix();
});
调整场景背景色为灰色:
typescript
scene.background = new THREE.Color("#cecece");创建地面:
typescript
const groundGeometry = new THREE.PlaneGeometry(10, 10);
const groundMaterial = new THREE.MeshStandardMaterial({ color: "#cecece" });
const ground = new THREE.Mesh(groundGeometry, groundMaterial);
ground.rotation.x = -Math.PI / 2; // 旋转为水平地面
scene.add(ground);
由于目前相机的视口和地面平行,看不到地面,需要再调一下相机的位置:
typescript
camera.position.z = 10;
camera.position.y = 10;
可以看到地面出现在场景中了:
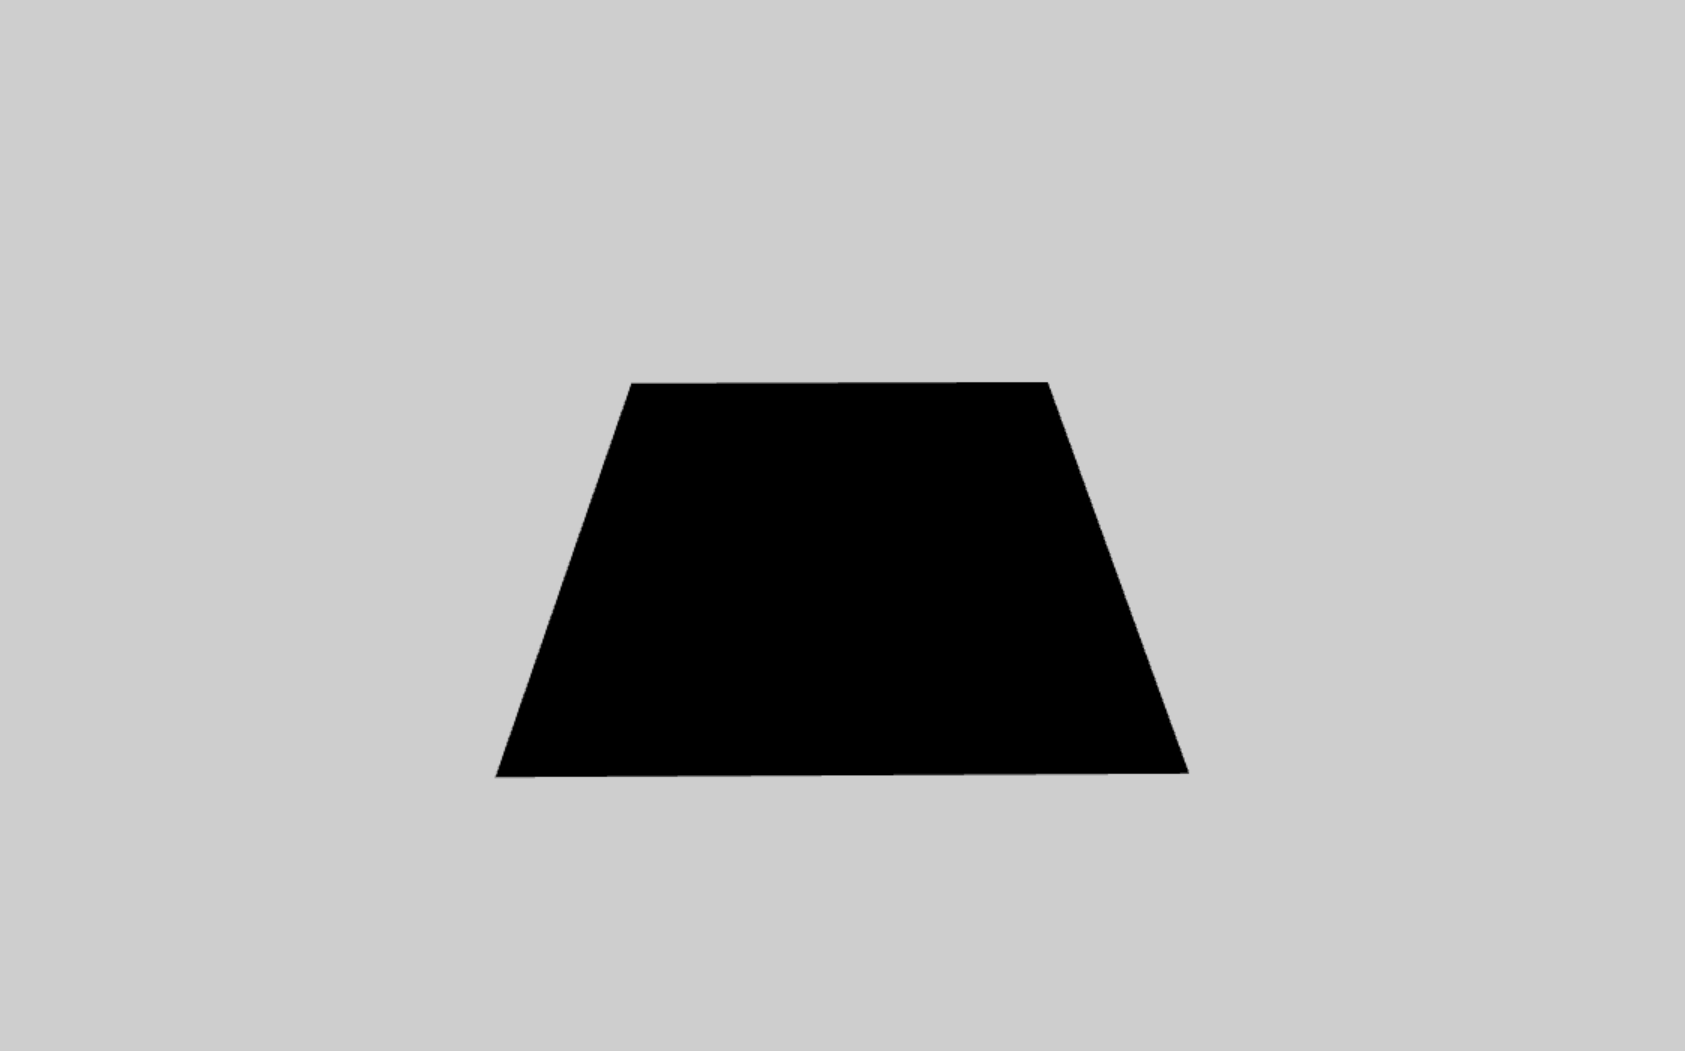
但是颜色似乎不太对,显示的是纯黑色,和我们设置的颜色不一致。这是由于目前场景中没有任何光源,在一个没有任何光源的空间,看到的一切都是黑色!
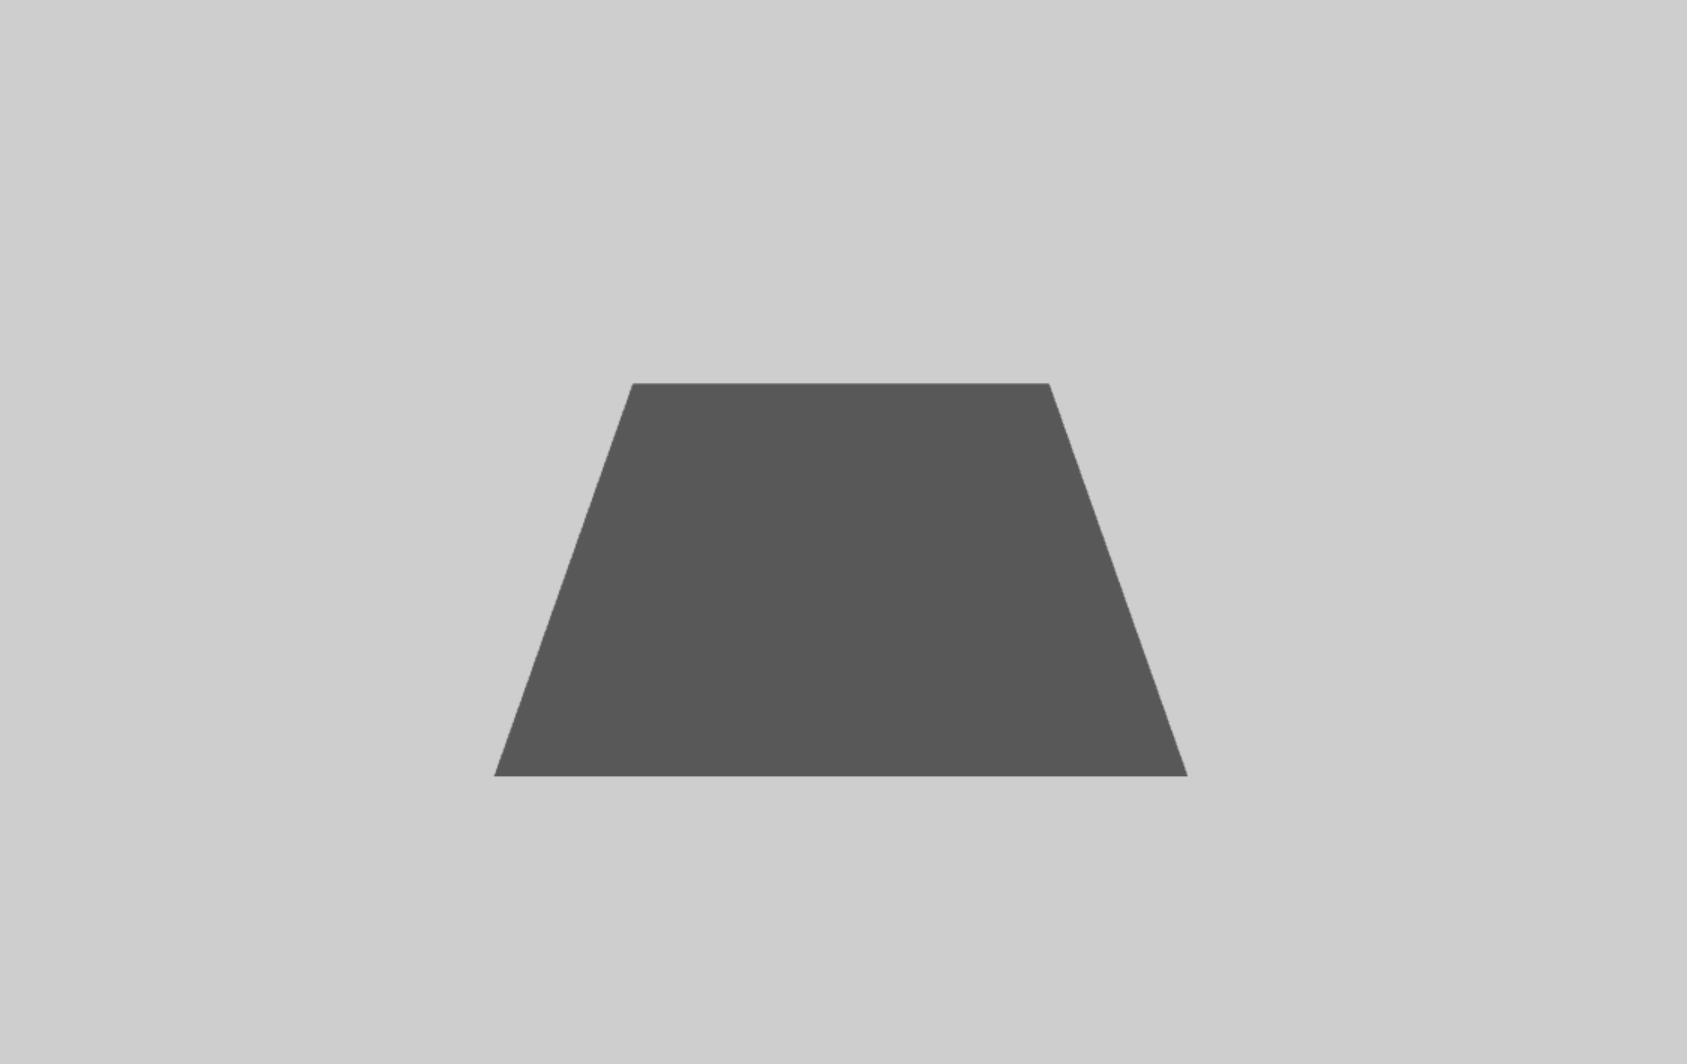
加一个环境光:
typescript
const ambientLight = new THREE.AmbientLight(0xffffff, 0.5);
scene.add(ambientLight);
看起来有点变化了:
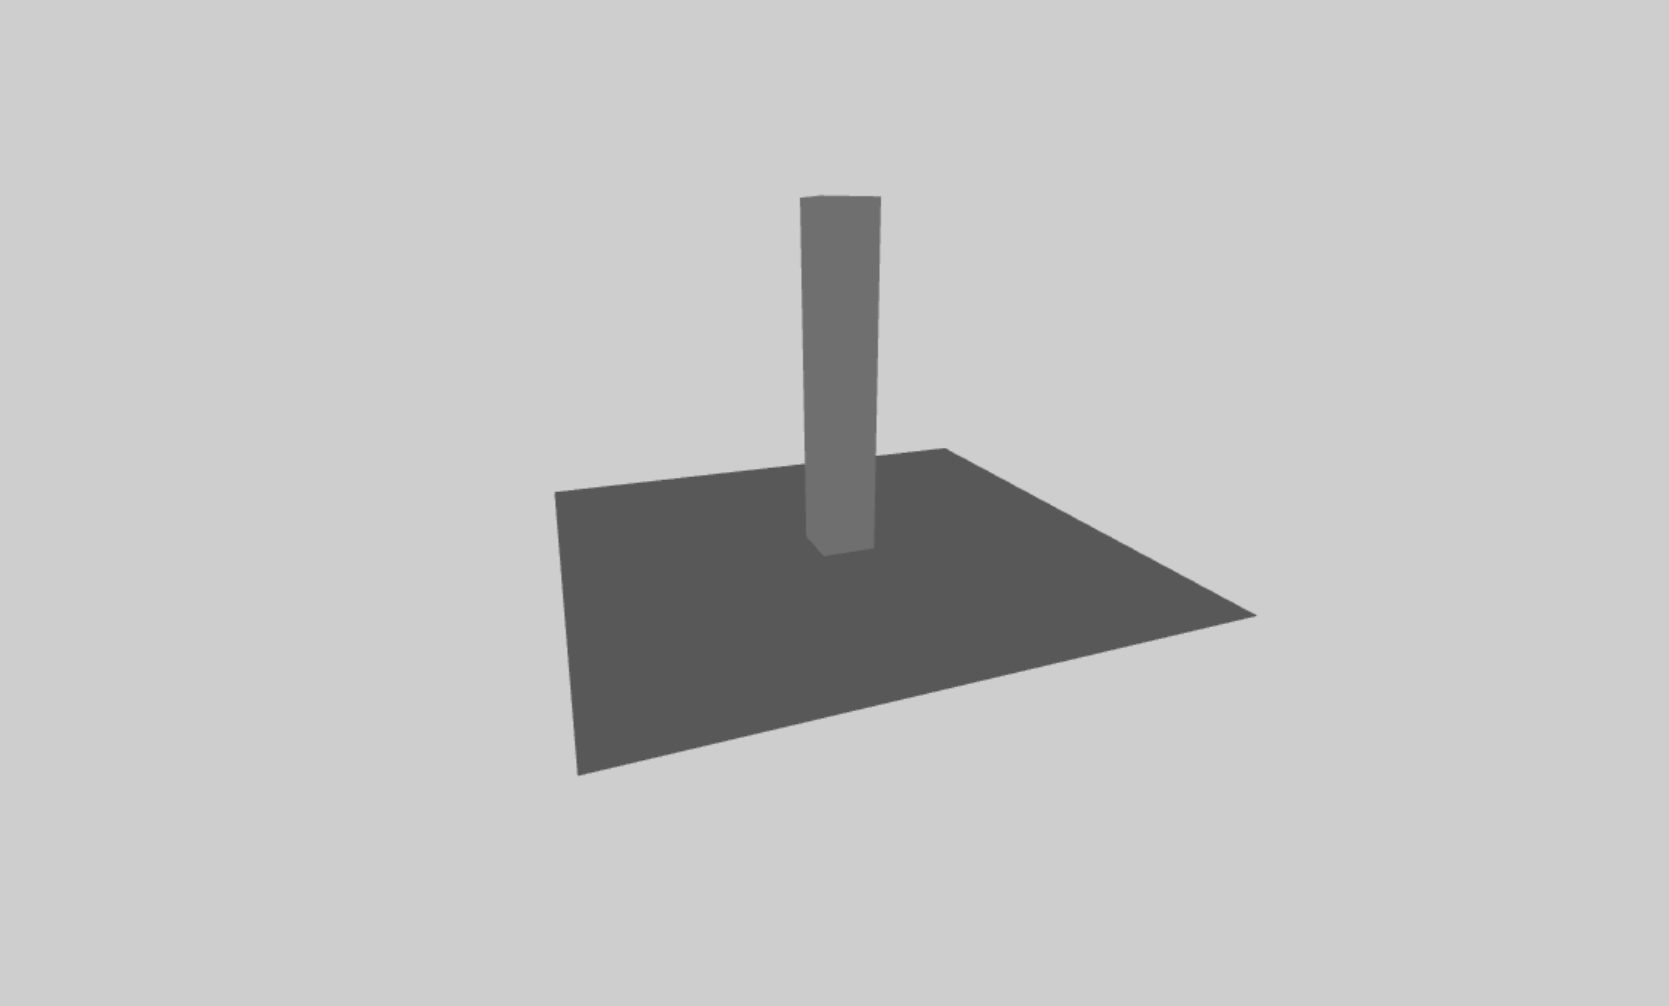
2、创建立方体
给场景中再添加一个立方体:
ts
const geometry = new THREE.BoxGeometry(1, 6, 1);
const material = new THREE.MeshStandardMaterial({
  color: "#ffffff",
});
const mesh = new THREE.Mesh(geometry, material);
mesh.position.set(0, 3, 0);
scene.add(mesh);这里立方体的材质用的是MeshStandardMaterial类型的材质,颜色为纯白色。
3、创建光源
一般情况下,场景中会有一个主光源和多个辅助光源。先创建一个主光源:
typescript
const mainLight = new THREE.DirectionalLight(0xffffff, 1);
mainLight.position.set(5, 8, 5);
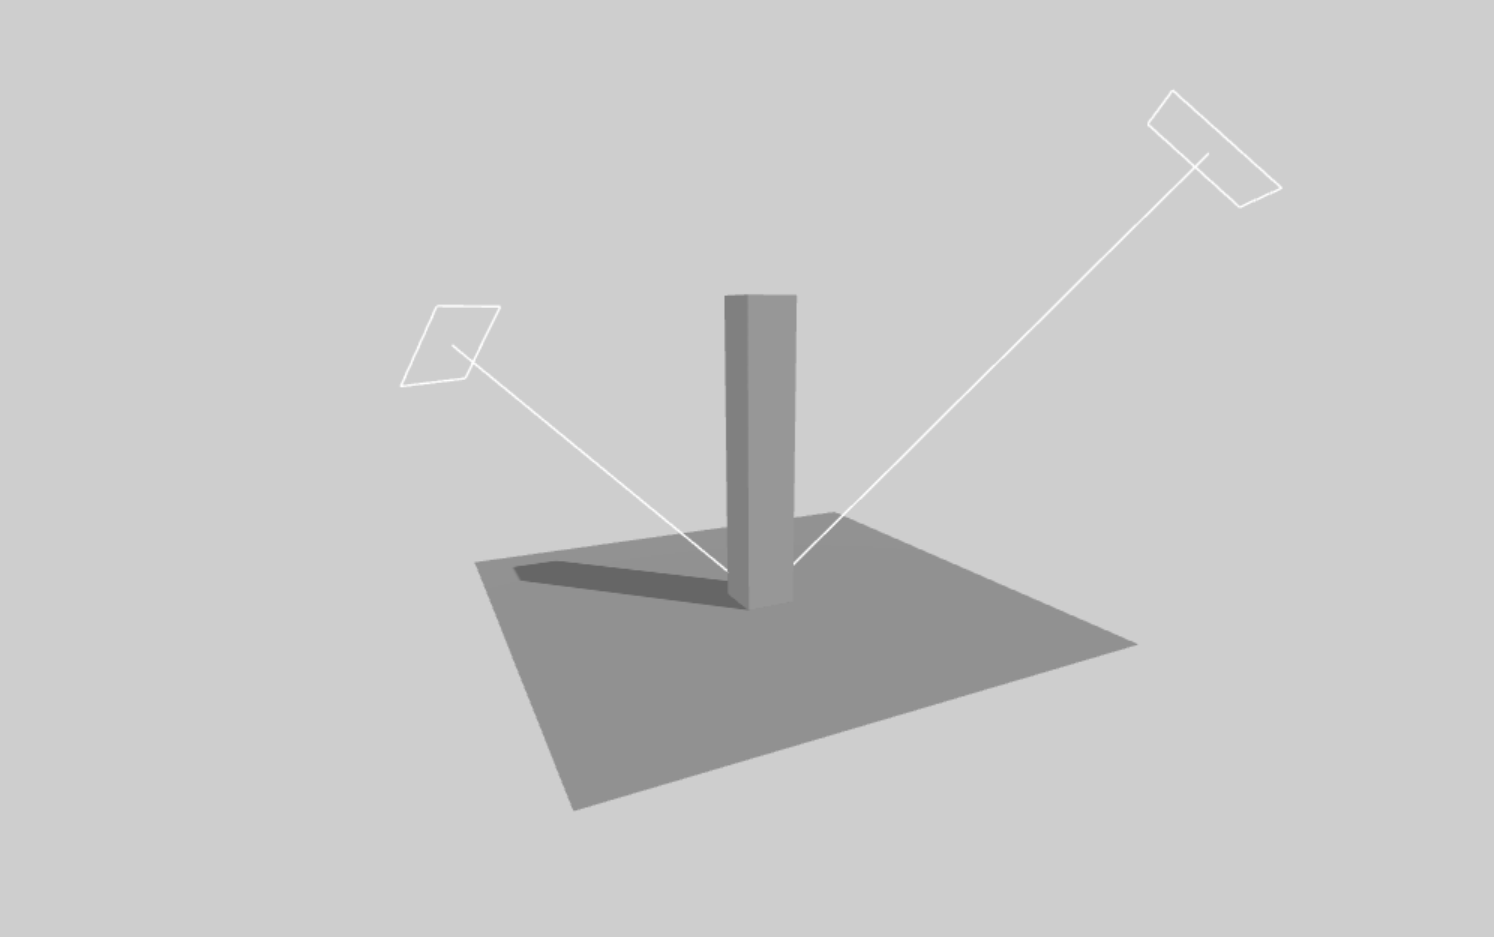
scene.add(mainLight);可以看到立方体的棱角看起来更明显了。为了方便观察光源的位置,再添加以下代码:
typescript
const mainLightHelper = new THREE.DirectionalLightHelper(mainLight);
scene.add(mainLightHelper);
DirectionalLightHelper能够把平行光的位置即方向通过线条表现出来。
在创建一个辅助光源,辅助光源的位置位于主光源的对面,同时辅助光源的强度降低:
typescript
const secondaryLight = new THREE.DirectionalLight(0xffffff, 0.3);
secondaryLight.position.set(-5, 5, -5);
scene.add(secondaryLight);

const secondaryLightHelper = new THREE.DirectionalLightHelper(secondaryLight);
scene.add(secondaryLightHelper);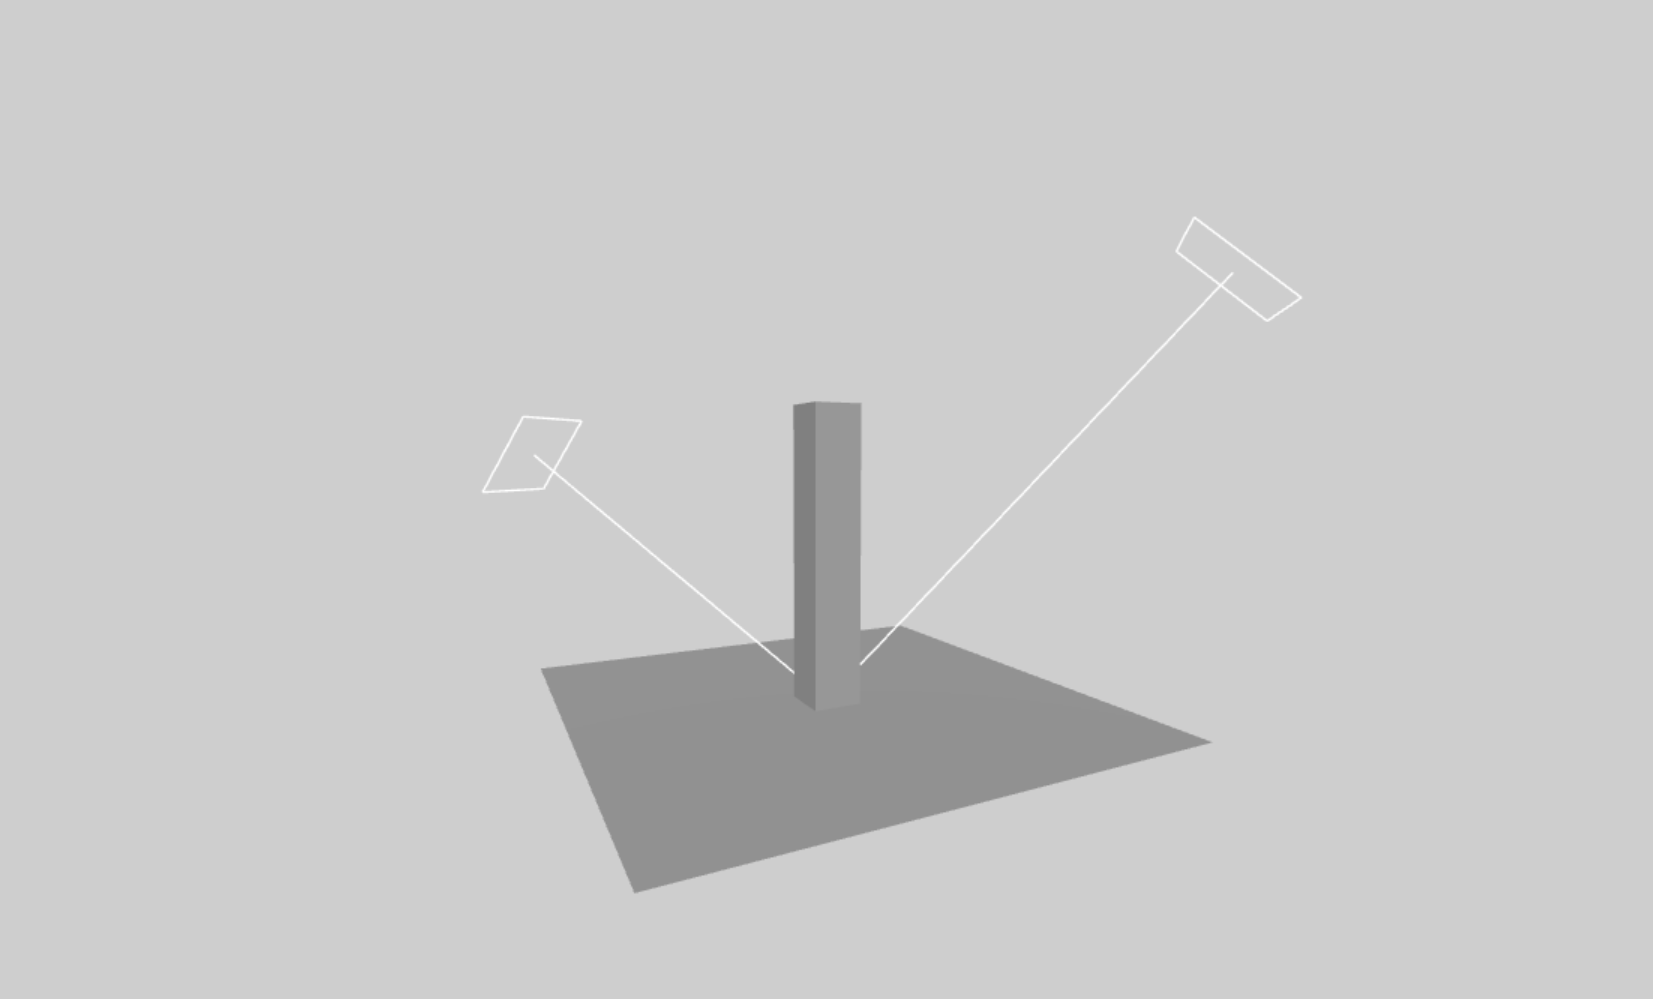
4、开启阴影效果
渲染器开启阴影:
typescript
renderer.shadowMap.enabled = true; // 开启阴影
renderer.shadowMap.type = THREE.PCFSoftShadowMap; // 软阴影
灯光开启阴影,只给主光源开启阴影,辅助光源不要开启:
typescript
mainLight.castShadow = true;立方体开启产生阴影和接收阴影:
typescript
mesh.castShadow = true;
mesh.receiveShadow = true;
地面开启接受阴影:
typescript
ground.receiveShadow = true;可以看到立方体的阴影出现在了地面上:
5、场景优化
为了让场景看起来不太生硬,我们做以下调整:
隐藏光源辅助线:
typescript
mainLightHelper.visible = false;
secondaryLightHelper.visible = false;
放大地面:
typescript
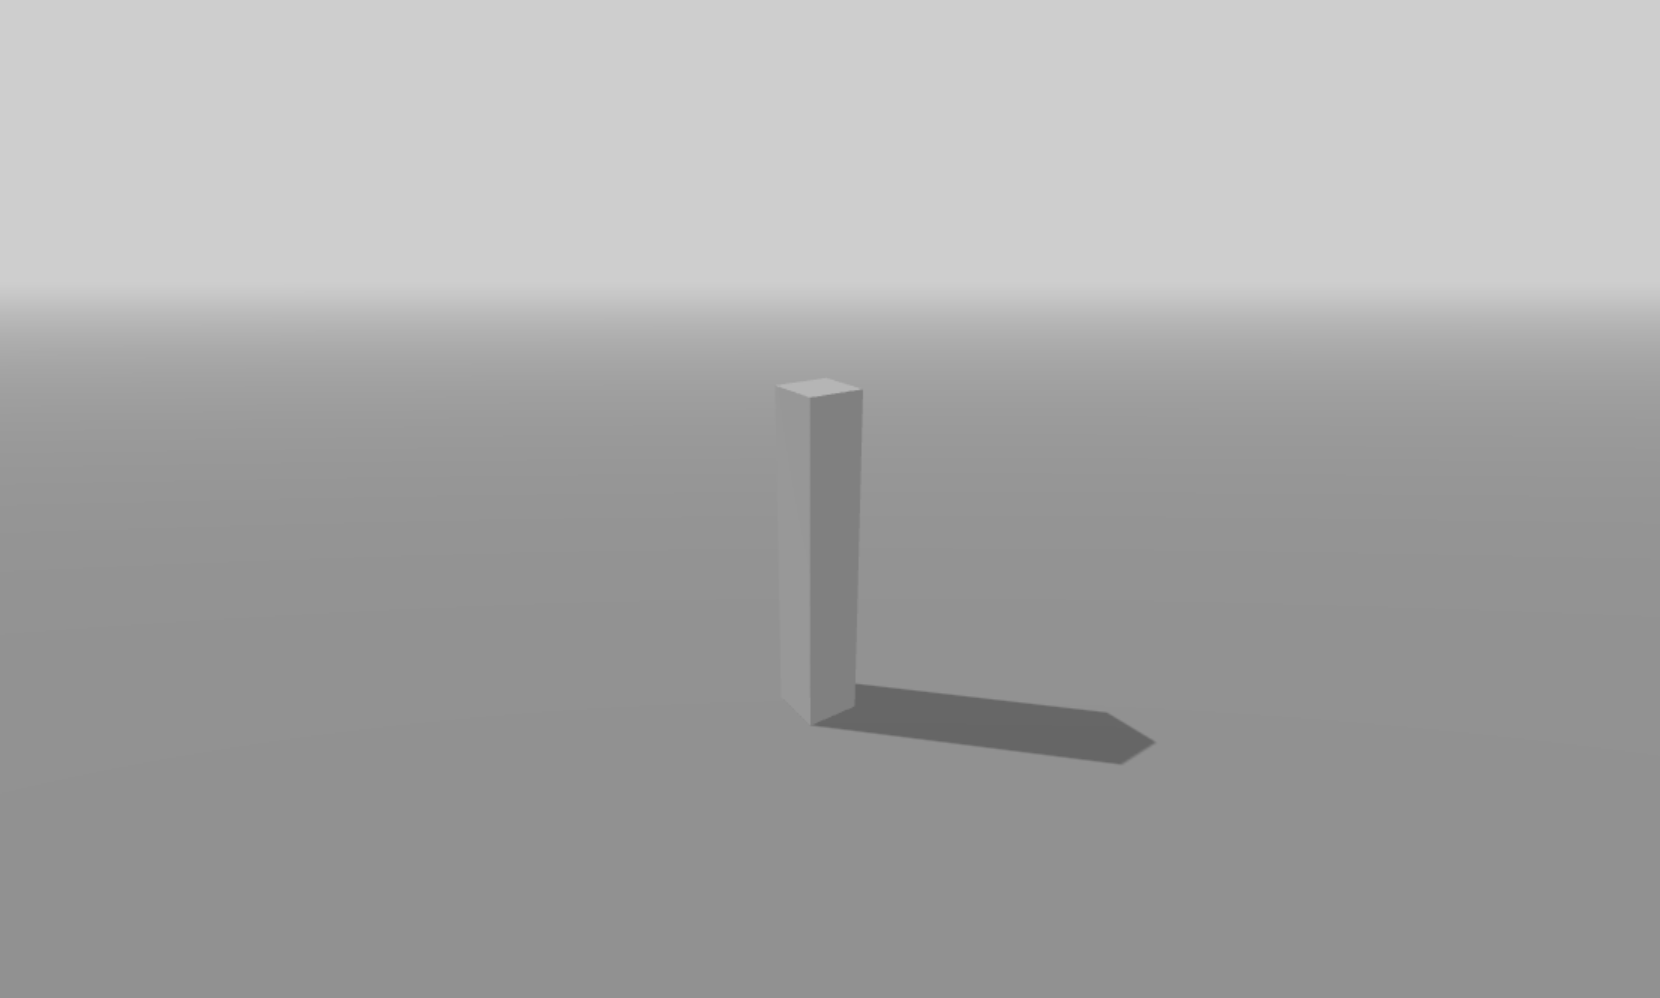
const groundGeometry = new THREE.PlaneGeometry(1000, 1000);给场景中增加雾效果,可以让地面的边缘看起来更柔和:
typescript
scene.fog = new THREE.Fog("#cecece", 10, 100);目前的场景看起来是这样:
6、添加更多立方体
在[10, 10]的范围内随机创建 20 个立方体:
typescript
const colors = ["#a6a6a6", "#e1d5d5", "#d5d5d5"];
for (let i = 0; i < 20; i++) {
  const geometry = new THREE.BoxGeometry(1, 1, 1);
  // 从colors中随机选一种颜色
  const randomColor = colors[Math.floor(Math.random() * colors.length)];
  const material = new THREE.MeshStandardMaterial({ color: randomColor });
  const mesh = new THREE.Mesh(geometry, material);
  // 将 y 轴位置调整为非负数,确保立方体在地面上
  mesh.position.set(Math.random() * 10 - 5, Math.random() * 5, Math.random() * 10 - 5);
  mesh.castShadow = true; // 产生阴影
  mesh.receiveShadow = true; // 接收阴影
  scene.add(mesh);
}
增加主光源的强度可以让场景看起来更亮:
typescript
mainLight.intensity = 2;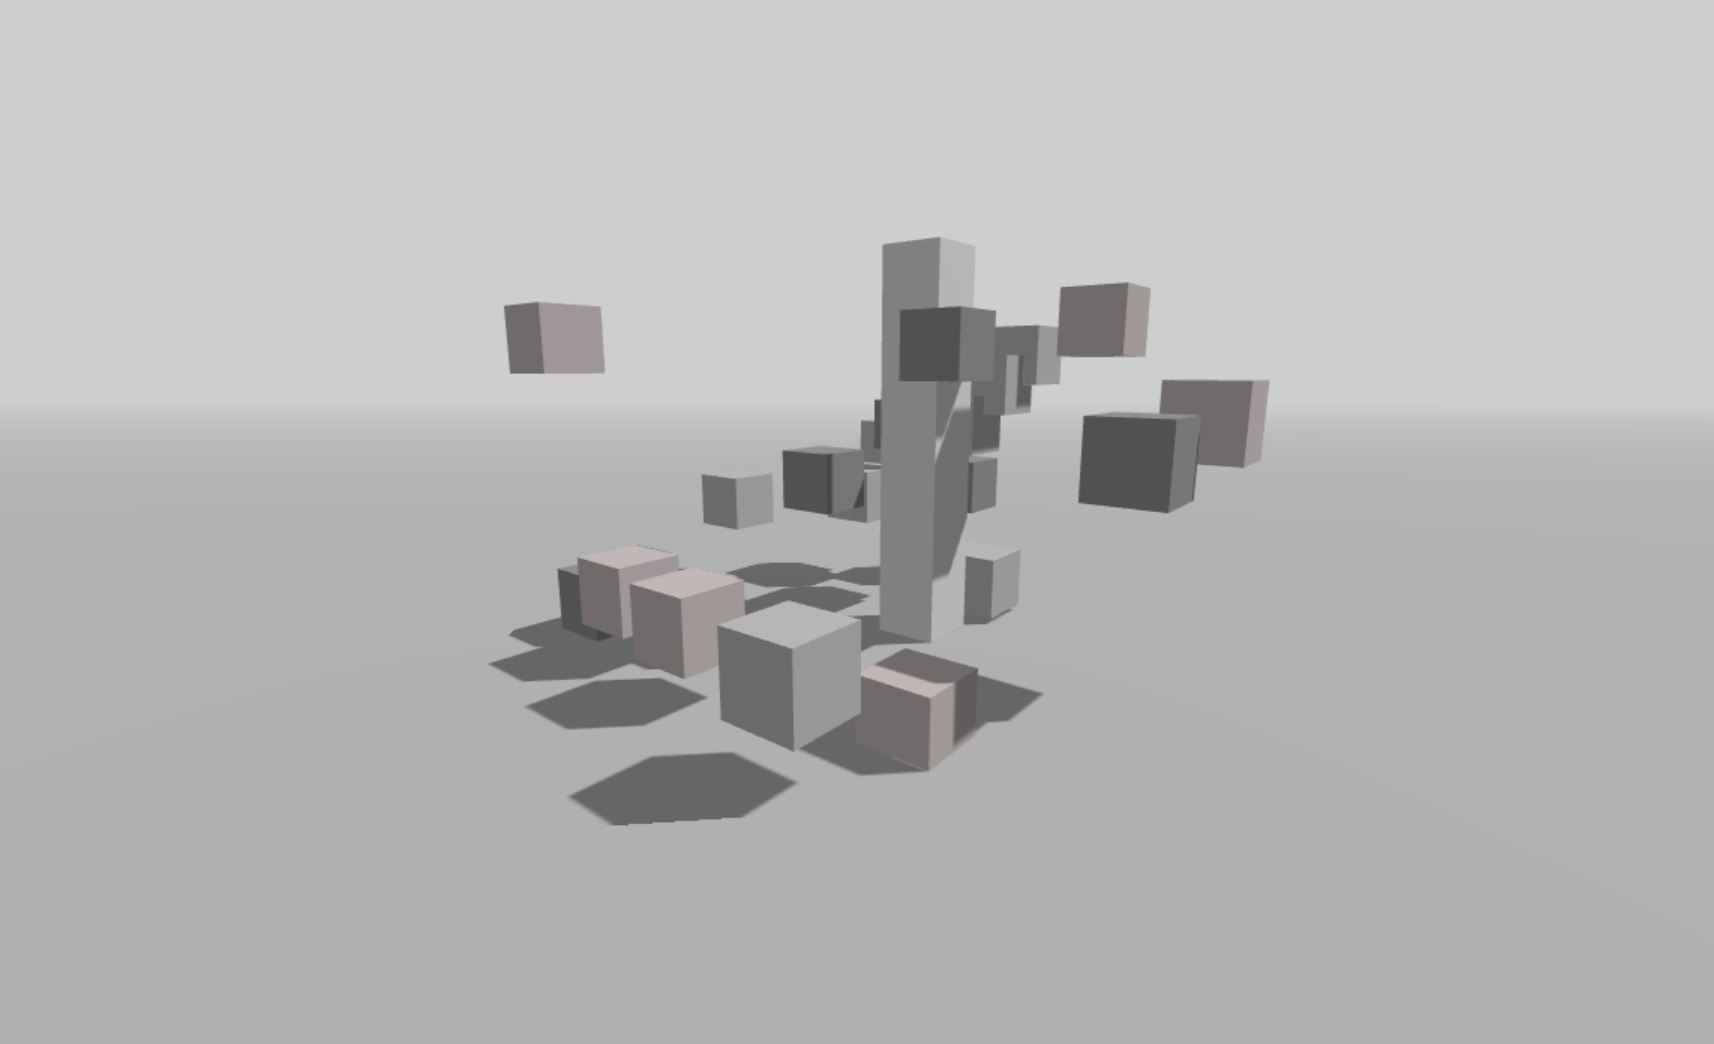
至此,我们已经开发出了一个有立体感的 3D 场景。
读者朋友可以利用上节课介绍的调试工具 dat.gui 对场景中的灯光位置、灯光颜色、立方体颜色、地面颜色等参数增加调试面板,以观察场景中的变化。